Interface
Initial View
The Dashboard
- The Redirect URL Management dashboard displays the original and redirected links of the published pages which are moved to a new location in your project.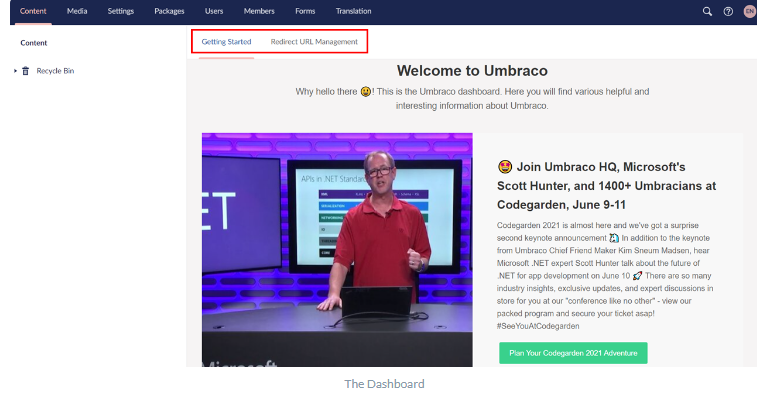
Search, Help, and Profile Settings
- The Search bar allows you to search for the content in your entire project.
- The Help icon provides different Help options such as Tours, Umbraco Learning Base YouTube videos,
Umbraco Documentation, and your System Information.
- The profile icon allows you to edit your profile, change the password, and Logout from the application.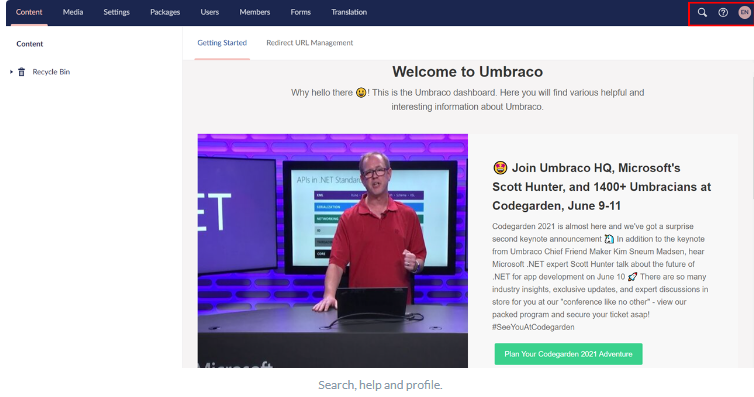
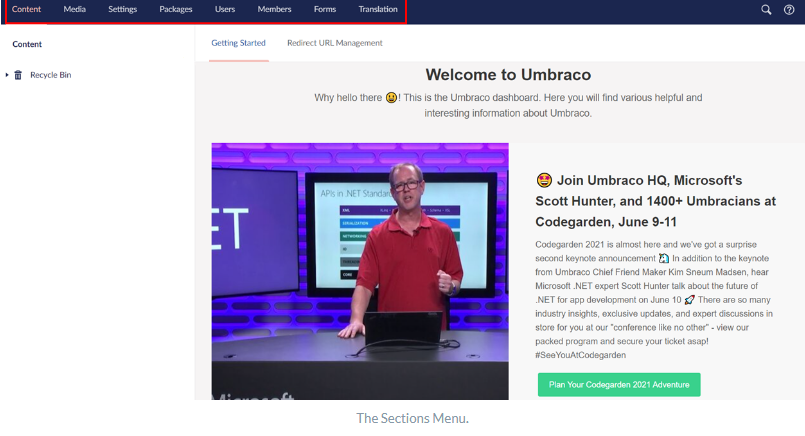
The Sections Menu
The Section tree
After logging in to an Umbraco project you will be presented with a dashboard containing a wide array of buttons and features. Let's quickly go through what each feature does.
By default, there are two dashboards available:
- The Getting Started dashboard provides helpful information about Umbraco.- The Redirect URL Management dashboard displays the original and redirected links of the published pages which are moved to a new location in your project.
- The Help icon provides different Help options such as Tours, Umbraco Learning Base YouTube videos,
Umbraco Documentation, and your System Information.
- The profile icon allows you to edit your profile, change the password, and Logout from the application.
The following sections are available in the backoffice:
- Content - allows you to manage your content.
- Media - allows to the management of images and other media files.
- Settings - allows you to handle your metadata such as document types.
- Packages - allows to manage and install packages.
- Users - allows managing the users on the project. To learn more about users, see the Users article.
- Members - allows handling of the members of the project. If you want to learn more about Members, see the Members article.
- Forms - allows you to create and manage your forms.
- Translation - allows managing dictionary items.
The menu list will differ depending on your permissions for the project. For example: if you are an editor, then you will only have access to Content, Media and Forms as per default settings.
The section tree is different depending on the section you are in. The section provides an overview of the nodes contained in the tree.
In this example, you are looking at the content section.
The Content tab allows you to create content nodes and manage your content tree. When you hover over the sections, it is highlighted with a darker color indicating that you are hovering over it. A button with three dots will show up, left-click or right-click to view additional options.
The Recycle Bin contains the deleted content and is available only in the Content and the Media section.
Related Articles
Introduction
The Senior River CPD (Continuing Professional Development) system is a comprehensive platform designed to assist professionals in managing their ongoing professional development requirements. It provides a user-friendly interface to track and record ...Listings
The Listings Module in Senior River CMS is a versatile tool for creating and managing various types of listings on your website, such as directories, classifieds, staff, timelines, portfolios, and any other page that could be considered an entry with ...Creating Content
Creating and saving pages is an essential aspect of content creation and management. Whether you're working on a website, a document, or any other digital platform, knowing how to create and save pages effectively is crucial. Here's an overview of ...Vacancy Manager
The Vacancy Manager in Senior River CMS is a powerful tool for managing job vacancies and applications on your website. With this feature, you can easily create, manage, and promote your job openings, while also streamlining the recruitment process ...Forms
The Forms Module in Senior River CMS is a powerful tool for creating and managing custom forms on your website. With this feature, you can easily create forms for a variety of purposes, such as contact forms, and surveys, while also customizing the ...